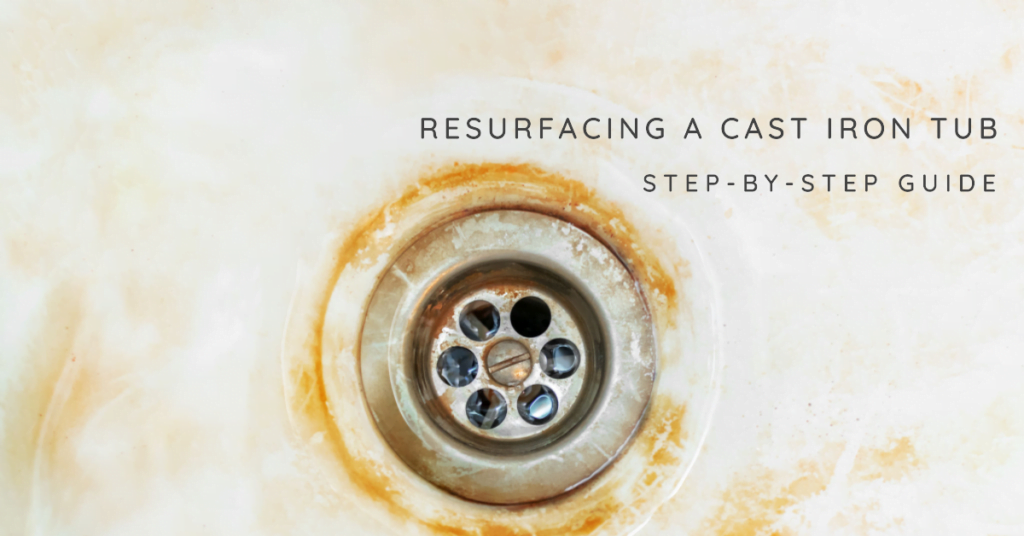
If you’re renovating an old house, you may come across a cast iron tub that needs some TLC. Cast iron tubs are a classic feature of many older homes and can add a touch of charm and character to your bathroom. However, over time, the surface of the tub can become damaged, stained, and worn. Fortunately, resurfacing a cast iron tub is a cost-effective way to restore its beauty and functionality without having to replace it.
In this article, we’ll take you through the step-by-step process of resurfacing a cast iron tub. We’ll also provide some tips and tricks to help you achieve a smooth and durable finish. But before we get into the nitty-gritty, let’s first explore why resurfacing a cast iron tub is necessary.
Not ready for resurfacing? Check out our comprehensive guide to finding the best cast iron bathtub for your home renovation project.
Why Resurface a Cast Iron Tub?
Cast iron tubs are known for their durability and longevity. However, over time, the surface of the tub can become scratched, chipped, or stained. These imperfections not only detract from the tub’s appearance but also make it more difficult to clean. Additionally, if the surface is damaged, it can be uncomfortable to bathe in, as rough spots or scratches can be felt on the skin.
Resurfacing a cast iron tub can address all of these issues. By refinishing the surface, you can restore the tub’s appearance, make it easier to clean, and create a smooth and comfortable bathing experience.
Materials Needed
Before you begin the resurfacing process, you’ll need to gather the necessary materials. Here’s a list of the tools and materials you’ll need:
- Gloves
- Eye protection
- Respirator mask
- Putty knife
- Sandpaper (80-grit, 220-grit, 400-grit)
- Bonding agent
- Acrylic urethane finish
- Paint roller and tray
Step-by-Step Guide to Resurfacing a Cast Iron Tub
- Clean the Tub
Before you start refinishing, you’ll need to clean the tub thoroughly. Use a non-abrasive cleaner and a soft cloth to remove any dirt, grime, or soap scum from the surface of the tub. Once the tub is clean, rinse it thoroughly with water and allow it to dry completely.
- Sand the Surface
Once the tub is dry, use 80-grit sandpaper to sand the entire surface of the tub. This will create a rough surface that will help the bonding agent adhere to the tub. After sanding, wipe the surface of the tub clean with a damp cloth to remove any dust or debris.
- Apply Bonding Agent
Apply a bonding agent to the surface of the tub using a paint roller. Be sure to apply the bonding agent evenly and cover the entire surface of the tub. Allow the bonding agent to dry completely before proceeding.
- Apply Acrylic Urethane Finish
Once the bonding agent is dry, it’s time to apply the acrylic urethane finish. Use a clean paint roller to apply the finish to the surface of the tub. Be sure to apply the finish evenly and cover the entire surface of the tub. Allow the finish to dry completely before using the tub.
Don’t forget to upgrade your bathtub shower wall while you’re at it! Our guide to the best bathtub shower wall will help you find the perfect solution for your bathroom.
Tips and Tricks for a Smooth and Durable Finish
- Use a respirator mask and eye protection when refinishing a tub to protect yourself from harmful chemicals and dust.
- Apply the bonding agent and finish in a well-ventilated area to ensure proper air circulation.
- Sand the surface of the tub thoroughly to create a rough surface that will help the bonding agent adhere to the tub.
- Apply the bonding agent and finish evenly and cover the entire surface of the tub to ensure a smooth and durable finish.
- Use 220-grit sandpaper to lightly sand the surface of the tub between coats of finish to create a smooth finish.
- Allow each coat of finish to dry completely before applying the next coat.
- Apply at least two coats of finish to ensure a durable finish that will last for years.
Other Options for Resurfacing a Cast Iron Tub
While acrylic urethane is a popular choice for resurfacing a cast iron tub, there are other options available. Here are a few alternative resurfacing options to consider:
- Porcelain enamel: Porcelain enamel is a baked-on finish that provides a durable and glossy surface. It’s a popular choice for resurfacing cast iron tubs and is available in a variety of colors.
- Acrylic: Acrylic is a lightweight and durable material that can be used to resurface a cast iron tub. It’s available in a variety of colors and can be customized to fit your specific needs.
FAQs
The cost of resurfacing a cast iron bath can vary depending on a few factors such as the size of the tub and the condition of the surface. On average, the cost can range from $300 to $800. However, it is always best to get a quote from a professional to get a more accurate estimate.
Reglazing a cast iron tub can be a cost-effective way to restore it to its original look without having to replace it altogether. It can also extend the life of the tub for several years. However, it is important to note that the process of reglazing requires some level of expertise, and if done incorrectly, it can result in peeling or chipping over time.
If done correctly, a reglazed bathtub can last for 10-15 years with proper care and maintenance. It is important to avoid using abrasive cleaners or scrubbers as they can damage the new finish.
While it is possible to reglaze a bathtub yourself using a DIY kit, it is not recommended for those without prior experience. Reglazing requires specialized equipment, materials, and expertise to ensure a smooth and long-lasting finish. It is best to hire a professional who has the necessary skills and experience to do the job right.
Conclusion
Resurfacing a cast iron tub is a cost-effective way to restore its beauty and functionality. By following the steps outlined in this article and using the right materials, you can create a smooth and durable finish that will last for years. Whether you choose to use acrylic urethane, porcelain enamel, or another resurfacing option, be sure to take the time to prepare the surface of the tub properly and apply the finish evenly to achieve the best results.
If you’re looking for more information about cast iron tubs, be sure to check out our guide to finding the best cast iron bathtub. And if you’re looking for a bathtub shower wall to complement your newly resurfaced tub, check out our guide to the best bathtub shower wall.


