A Comprehensive Guide to Installing a Tub or Shower Surround
I. Introduction
Hey there, my fellow bathroom enthusiasts! Are you tired of staring at those boring and dingy walls surrounding your tub or shower? Well, fear not my friends, because today I’m going to teach you how to spruce up those walls with the best bathtub shower wall panels out there.
A. Explanation of what a shower surround is
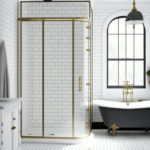
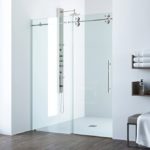
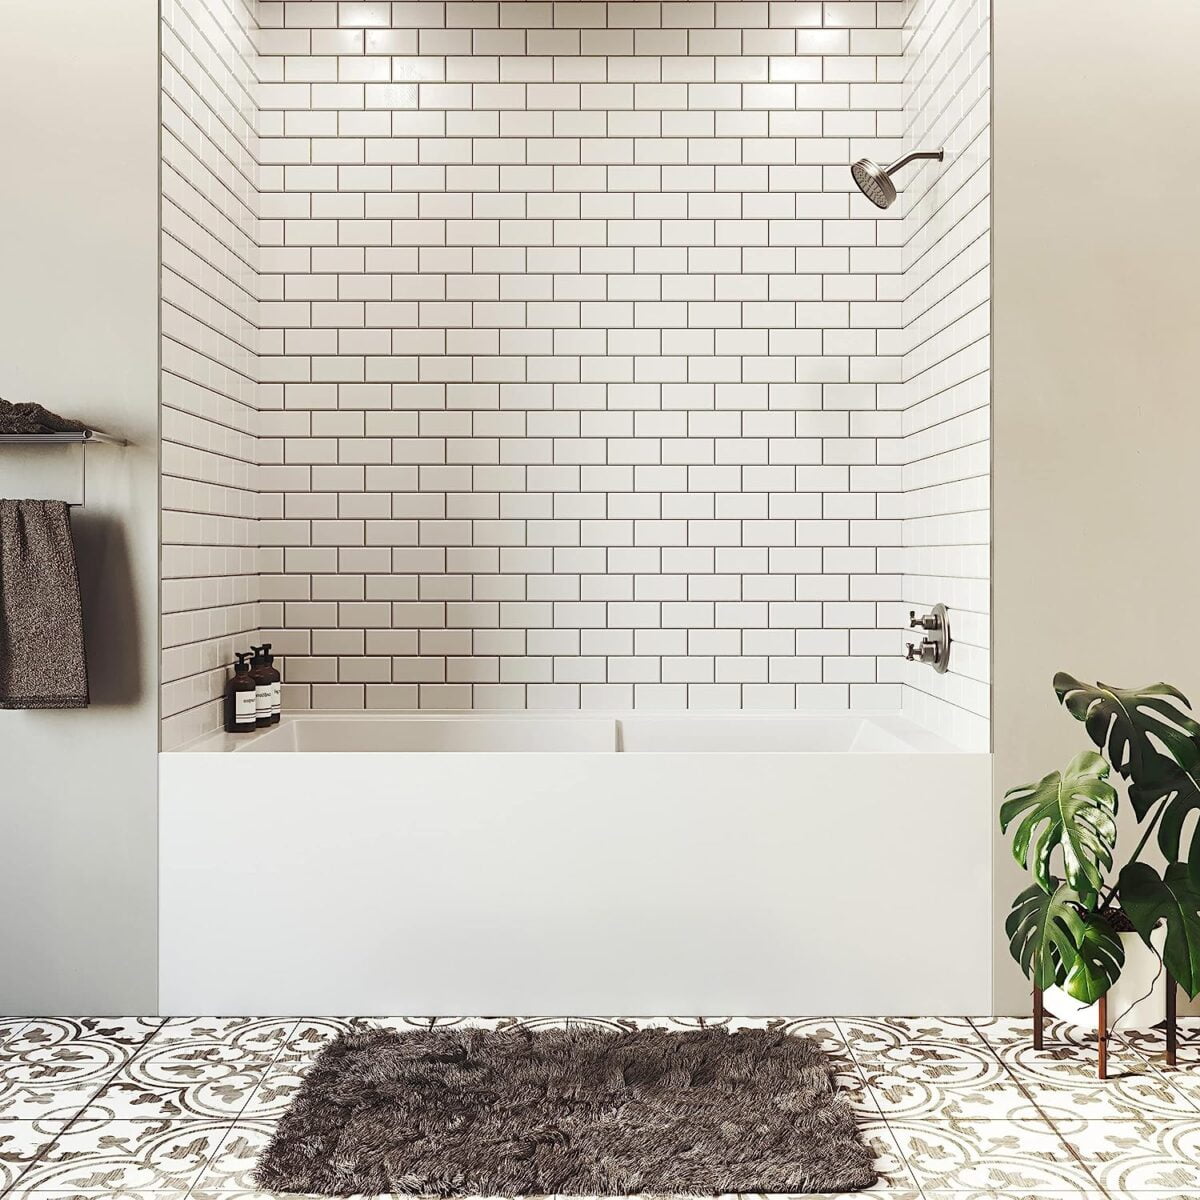
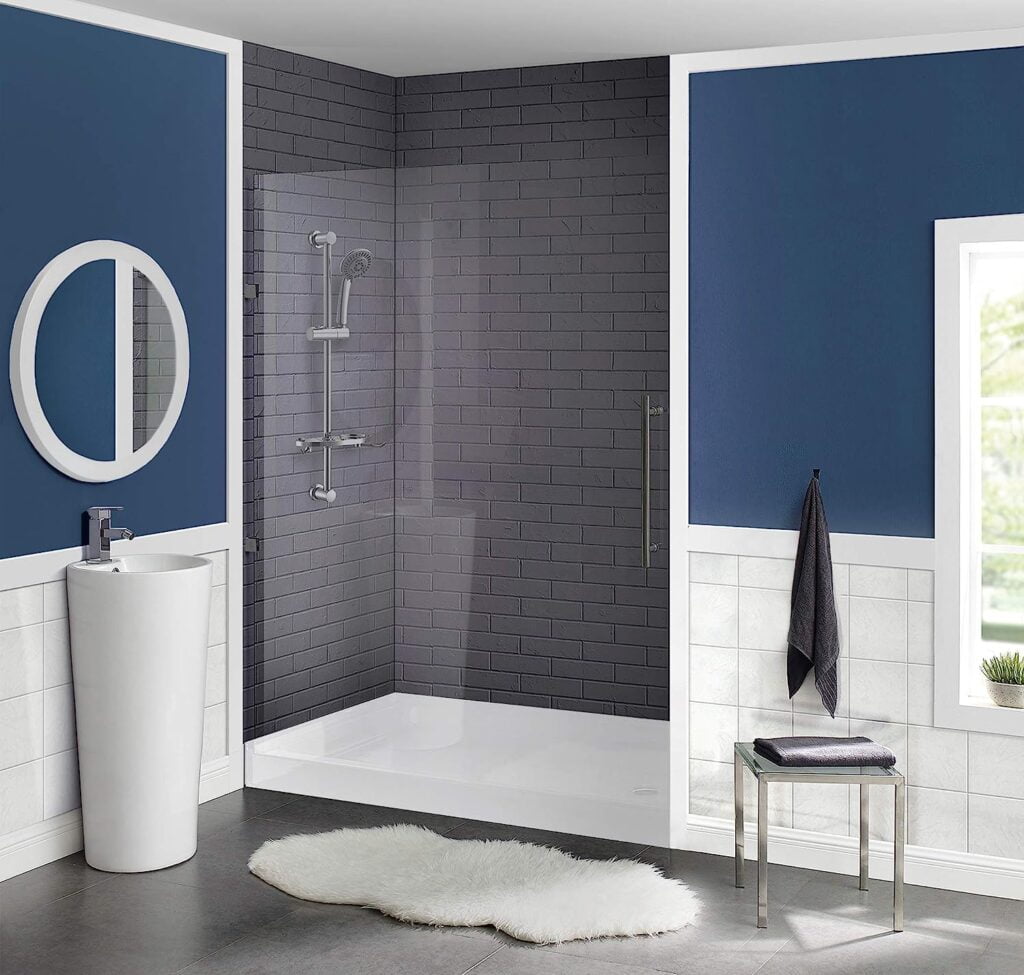
So, you’re ready to spruce up your tub or shower area? Well, let me tell you, a shower surround is the way to go! Simply put, a shower surround is a set of panels that you install on the walls of your tub or shower area to give it a fresh new look.
Think of it like giving your bathroom walls a makeover – without all the messy paint and wallpaper. And the best part? Installing a shower surround is much easier than you might think. With a few basic tools and some know-how, you can have a brand new bathroom in no time.
Now, I know what you might be thinking – “But wait, what about the studs? And the plumbing? And how do I make sure the panels fit perfectly?” Don’t worry, my friend, I’ve got you covered. In this guide, I’ll walk you through everything you need to know to install a tub or shower surround like a pro.
Looking for an easy and efficient way to upgrade your bathroom? Check out our top picks for the best one-piece bathtub shower combos on the market! Click here to explore the options: Best One-Piece Bathtub Shower Combos
B. Benefits of installing a shower surround
Now, you might be wondering – why bother with a shower surround? Well, my friend, let me tell you, there are so many benefits to installing one of these bad boys. First and foremost, a shower surround is a fantastic way to spruce up your bathroom without breaking the bank. You can completely transform the look and feel of your tub or shower area with just a few panels – and it’s so much cheaper than a full bathroom renovation.
But the benefits don’t stop there. Shower surrounds are also incredibly easy to install. Seriously, if you know how to use a caulk gun and a drill, you can install a shower surround.
But wait, there’s more! Shower surrounds are also incredibly low-maintenance. Unlike tile or paint, they don’t require any grout or sealant, so you don’t have to worry about scrubbing mold and mildew out of every nook and cranny. Plus, they’re much easier to clean – just wipe them down with a damp cloth and you’re good to go.
So, what are you waiting for? Installing a shower surround is a simple and affordable way to give your bathroom a fresh new look. Plus, you’ll get all the benefits of a low-maintenance, easy-to-clean surface. It’s a win-win!
C. Overview of the installation process
Let me give you a quick rundown of what to expect during this process.
- First off, you’ll need to do some preparation work, including shutting off the main water supply and cleaning the wall surface. Then, you’ll need to apply a stain-blocking primer to the cement backer board and let it dry completely.
- Next up is the actual installation process, which involves test-fitting the corner panels and applying adhesive to them. You’ll need to install the first corner panel and then measure the pipe outlets before cutting and installing the remaining panels.
- After all the panels are installed, it’s time to install the fixtures and seal everything up with some silicone caulk. And finally, you’ll need to allow some time for the sealant to dry before you can use your newly spruced up tub or shower.
II. Preparation
A. Shut off the main water supply and remove fittings
The first step is to shut off the main water supply, because trust me, you don’t want to be flooded with water during this process. Go ahead and turn off the water to the bathroom to make sure you don’t have any unexpected surprises.
If you’re looking for a comprehensive guide to waterproofing your tub or shower surround, check out this helpful resource on PlaceCallHome.com!
B. Clean the wall surface
Ah, cleaning the wall surface, now we’re getting somewhere! You don’t want your fancy new shower surround to be installed on a dirty wall, do you? No way! So let’s get to it.
First, you’ll need to remove any old adhesive or caulking from the wall surface. Use a putty knife to scrape away any loose debris, and then use a cleaning solution to remove any remaining residue. You can use a store-bought cleaning solution or make your own with equal parts water and vinegar. Just don’t mix it with baking soda, or you’ll have a whole other problem on your hands!
Once the wall surface is clean, use a dry cloth to wipe away any excess moisture. You want the surface to be completely dry before moving on to the next step. Now, if you’re feeling extra fancy, you can even use sandpaper to smooth out any rough spots on the wall. Trust me, the spruce-up will be worth it in the end.
Alright, now that the wall is all clean and smooth, you’re ready for the next step in this fabulous journey of installing a shower surround.
C. Apply stain-blocking primer to cement backer board
Alright, buckle up, folks! It’s time to prime that cement backer board! This step is crucial in ensuring your shower surround lasts for years to come. First things first, make sure the board is clean and dry. No one wants a grimy primer, right? Then, using a high-quality brush or roller, apply a generous coat of stain-blocking primer to the board. The key here is to make sure you cover the entire surface, including the edges and any screw heads. If you miss a spot, it’s gonna haunt you for the rest of your days. And trust me, no one wants that kind of regret hanging over them in the shower. Let that primer dry for the recommended amount of time, and then you’re ready for the next step.
D. Allow surface to dry completely
Alrighty then, you’ve applied the stain-blocking primer to the cement backer board. Congrats, you’re on your way to having a super awesome shower surround. Now, what’s next? Well, you need to let the surface dry completely, my friend. This is the perfect time to take a little break, grab a cup of coffee, or do some stretching exercises.
Drying time will depend on the type of primer you used and the humidity levels in your bathroom. But don’t rush it, my friend. You want to make sure that the primer is completely dry before you move on to the next step. So, take your time, sit back, relax, and let the primer do its thing.
In the meantime, why don’t you check out some cool bathroom shower wall ideas? Who knows, you might even find some inspiration to spruce up your bathroom while you wait for the primer to dry.
IV. Measure the Pipe Outlets
Alright, let’s talk about measuring those pipe outlets! This step is crucial if you want to ensure that your plumbing will fit perfectly into your new tub or shower surround.
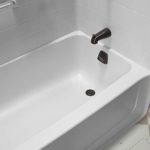
First things first, you need to determine the type and size of the pipe outlet you will be working with. Most likely, you’ll be dealing with either a standard 1/2 inch or 3/4 inch plumbing pipe. But just to be sure, it’s always a good idea to measure the diameter of the pipe to ensure accuracy.
To do this, grab a measuring tape and wrap it around the pipe. Take note of the measurement, and then double check it to make sure you’ve got it right. Trust me, you don’t want to find out later that your measurements were off by even a fraction of an inch!
Once you’ve got the diameter measurement, it’s time to move on to measuring the distance between the pipe and the edge of the tub or shower surround. This will help you determine where exactly to cut the hole in the surround for the pipe to fit through.
To measure this distance, simply place the end of your measuring tape against the wall and measure out to the center of the pipe. Again, double check your measurement to make sure it’s accurate.
With these measurements in hand, you’re ready to move on to the next step of your tub or shower surround installation. And don’t forget, if you ever need a refresher on how to spruce up your bathroom, check out thespruce.com for all your home improvement needs!
Here’s a checklist for you:
- Create a pattern or template of the enclosure
- Measure the area where pipes extend from the wall
- Determine height from the bottom of the panel and distance of each fitting from the inside edge of the panel
- Transfer measurements to a large piece of cardboard and make a template
- Make cutouts in the correct places to allow room for pipes
V. Test Fit the Template
Once you have your template ready, it’s time to test fit it in place. Hold the template up to the wall or panel where your plumbing outlets are located and ensure it fits snugly against the surface.
Check that the template lines up with the studs or other reference points you marked earlier, and that the plumbing outlets are aligned with the holes in the template.
Make any necessary adjustments to the template before proceeding with cutting the holes in the wall or panel. It’s much easier to make adjustments now than after you’ve already cut the holes!
Take your time during this step and make sure everything is lined up correctly. A little extra time spent here can save you a lot of frustration later on.
VI. Cut Panels and Install
After measuring and testing the template, it’s time to start cutting the panels to size and installing them on the wall.
- Cut the Panels: Use a saw or cutter to cut the panels to the size and shape of the template you created. Be sure to wear protective goggles and a mask to avoid inhaling dust.
- Apply Adhesive: Apply a generous amount of adhesive on the back of the panel and the wall surface. Be sure to follow the manufacturer’s instructions for the amount of adhesive to use.
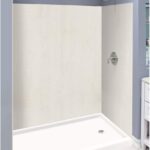
- Install the Panels: Carefully place the panel on the wall, starting from the bottom and working your way up. Press the panel firmly against the wall, making sure it’s level and flush with the surrounding panels.
- Secure the Panels: Use screws to secure the panels to the wall studs or backer board, following the manufacturer’s instructions for spacing and placement.
- Seal the Joints: Apply silicone sealant to the joints between the panels and around the edges of the tub or shower. This will help prevent water from seeping behind the panels and causing damage.
- Finish the Edges: Use trim pieces or moldings to finish the edges of the panels and give the installation a polished look.
With these steps, you can successfully cut and install panels on your bathroom wall or tub surround. Remember to take your time, follow the manufacturer’s instructions, and use the proper tools and safety gear.
VII. Test Fit Corner Panel
A. Mark side of panel that will go on the wall
Well, well, well, it’s time to mark the panel! Don’t worry, it’s not a test, it’s just the next step in our shower surround installation adventure.
Grab your trusty pencil and let’s get started. Take your panel and figure out which side is going to go against the wall. Got it? Great! Now, mark that side with your pencil.
Make sure you mark it clearly so you don’t forget which side goes where. Trust me, you don’t want to be scratching your head trying to figure out which way the panel goes when you’re in the middle of installation.
Once you’ve got it marked, give yourself a pat on the back, my friend. You’re one step closer to having a brand-spanking-new shower surround!
B. Apply double-sided tape along vertical edges of the panel
Alrighty then, now that we have our panels marked, it’s time to add some tape! And not just any tape, we’re talking double-sided tape, baby!
Take your tape and apply it along the vertical edges of the panel, making sure to press it firmly in place. This tape is going to help hold the panel in position as we continue the installation process.
Make sure to use enough tape so that the panel stays securely in place, but not so much that you can’t adjust the panel if needed. It’s all about finding that sweet spot, folks.
And let me tell you, this tape is like magic. It’s strong enough to hold the panel in place, but also easy enough to remove if you need to make any adjustments. It’s like the Houdini of tapes.
But don’t just take my word for it, try it out for yourself and see the magic of double-sided tape in action. Trust me, it’s a game-changer in the world of DIY bathroom renovations.
And once you’ve got that tape in place, we’re one step closer to a beautiful and spruced up tub or shower surround. Let’s keep this momentum going!
C. Use a caulk gun to apply adhesive every 12 inches
It’s time to get sticky with it and apply some adhesive to that bathtub or shower wall. Don’t worry, it’s easy as pie (mmm, pie). Here’s how to do it:
- First things first, grab your trusty caulk gun and load it up with adhesive. Make sure to use a high-quality adhesive that’s specifically designed for use in wet areas like the shower or tub.
- Next, start at the top of the wall panel and apply a bead of adhesive every 12 inches or so. Be sure to use enough adhesive to create a strong bond between the panel and the wall.
- As you work your way down the panel, continue to apply adhesive every 12 inches, making sure to keep the bead of adhesive straight and even.
- Once you reach the bottom of the panel, give it a good press to ensure it’s firmly attached to the wall.
And that’s it! You’ve successfully applied adhesive to your bathtub or shower wall panels like a pro. Great job!
VIII. Install Fixtures and Seal with Caulk
Now that you’ve installed the panels, it’s time to install the fixtures and seal any gaps with caulk. First, install the showerhead, knobs, and spout according to the manufacturer’s instructions. Make sure to connect the plumbing correctly and test the fixtures for any leaks before proceeding.
Next, it’s time to seal any gaps between the panels and the tub or shower. Use a waterproof caulk and apply a continuous bead of caulk along the joint, smoothing it with your finger or a caulking tool. Be sure to remove any excess caulk and allow it to dry completely before using the shower or tub.
Remember, proper sealing is essential to prevent water damage and mold growth. So, take your time and ensure that all gaps are sealed properly.
With the fixtures installed and the joints sealed, your tub or shower surround installation is complete! Now you can enjoy your newly spruced-up bathroom with the added protection of waterproof panels.
Pro Tip: For added protection and ease of cleaning, consider applying a sealant to the entire panel surface. This will create a barrier against water and soap scum buildup, making maintenance a breeze.
IX. Conclusion
Installing a tub or shower surround panel is not as difficult as it may seem, especially with the right tools and knowledge. By following these steps on how to install a tub or shower surround panel, you can successfully spruce up your bathroom and give it a fresh, new look. Remember to measure accurately, use the proper tools, and take your time during the installation process. With a little patience and some elbow grease, you can transform your bathroom into a beautiful and functional space that you’ll love spending time in. Don’t forget to seal all the seams with a high-quality caulk to prevent water damage and keep your bathroom looking great for years to come. Good luck with your bathroom renovation project!