


Image source: Yupiu
Concrete floors make for spectacular finishes, whether they are installed indoors or outdoors. To ensure that your floor remains looking its best, regular cleaning is required. Your floor will also benefit tremendously from occasional polishing. In addition to a glamorous and shiny floor, polishing also keeps the floor in great shape for much longer time. To polish your floor effectively, you’ll have to work in phases, using disks of different texture. Patience may also be required, but the results will certainly be worth all the effort and labor.
Let’s begin.
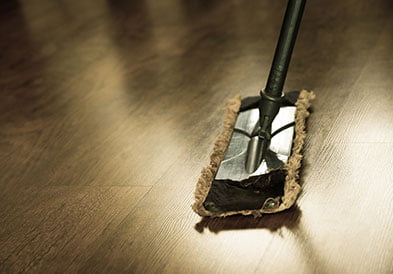
Step 1: Sweep
Begin by cleaning your floor before applying polish. Sweep all the dirt with a broom and gather it all in a dustpan. A vacuum cleaner will also do to clear all dirt from the floor.
Step 2: Mop
Fill up the mopping bucket with clean water and add some mild detergent. Using the mop, clean your floor to remove residual dust. Mild stains will easily come off when mopping. Leave the floor to dry completely before you start polishing.
Step 3: Polish With Coarse Grit
Begin with a coarse grit polishing disk, like one that measures about 500 when polishing your floor. Coarse grit tends to be more effective on tough stains and rough surfaces on the floor. Work systematically, starting at one end of the floor and moving up from side to side till the floor is completely covered. Use circular motions to cover the whole floor. Make sure you place more attention on tough stains so that you try as much as possible to get rid of them. Be careful not to make any overlaps you work.
Step 4: Polish With Fine Grit
After using the coarse grit disk to polish, switch to a fine grit disk. Using circular motions, work your way over the entire floor making sure you don’t overlap any spot. Residual stains should lift off when you use a fine grit. The concrete floor will look cleaned as all the rough patches and stains are removed with the fine grit.
Step 5: Polish With Extra Fine Grit
For the final phase, polish with the finest grit disk, like the 1500. This will give your floor a beautiful, glass-like sheen. Again, use circular motions to work the grit across your concrete floor. Avoid overlapping your circles as you work your way.
Step 6: Apply Concrete Floor Polish
Using the floor grinder, apply concrete floor polish onto the entire surface. This will give that extra sheen you need. At this point your concrete floor will be looking its best.

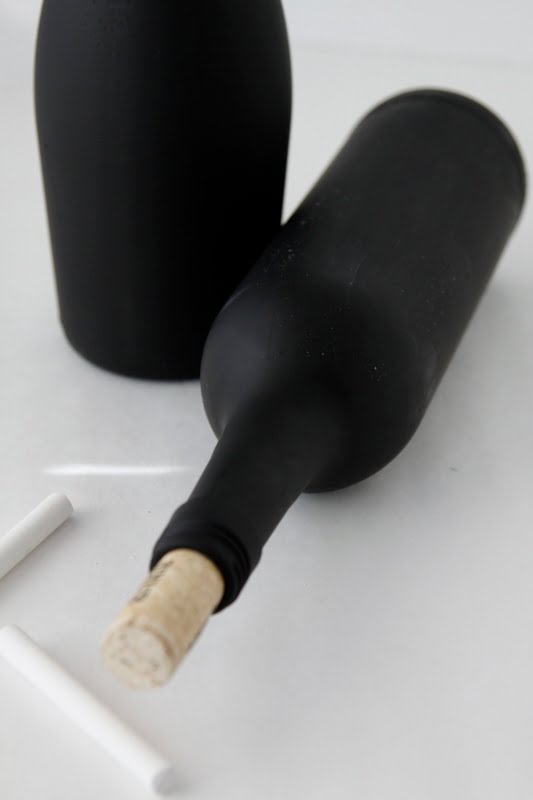
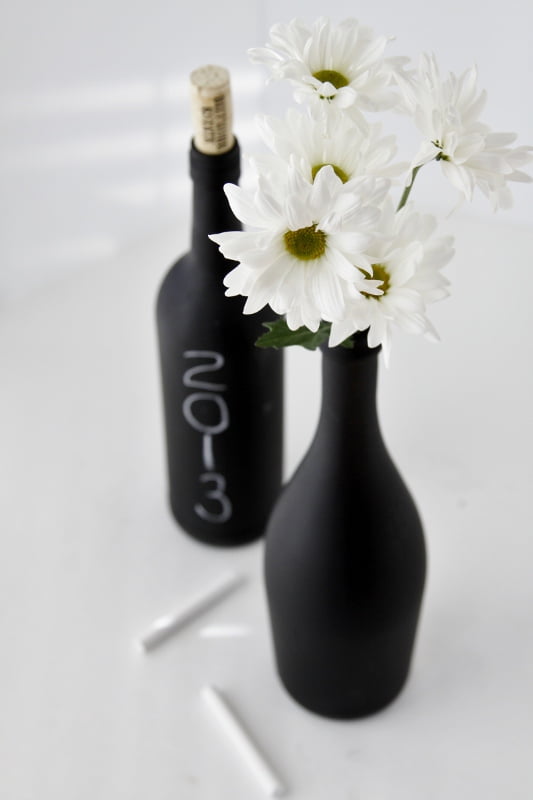 1. Lovely wine bottles transformed into decorations or vases. (via